
Nanoplastia Step by Step: Sectioning, Processing and Thermal Activation
The professional Nanoplastia protocol from diagnosis to finish: sectioning, application order, 40–60 min processing, flat-iron temperature and result control.
Vitta Gold Academy · August 25, 2026 · 12 min read
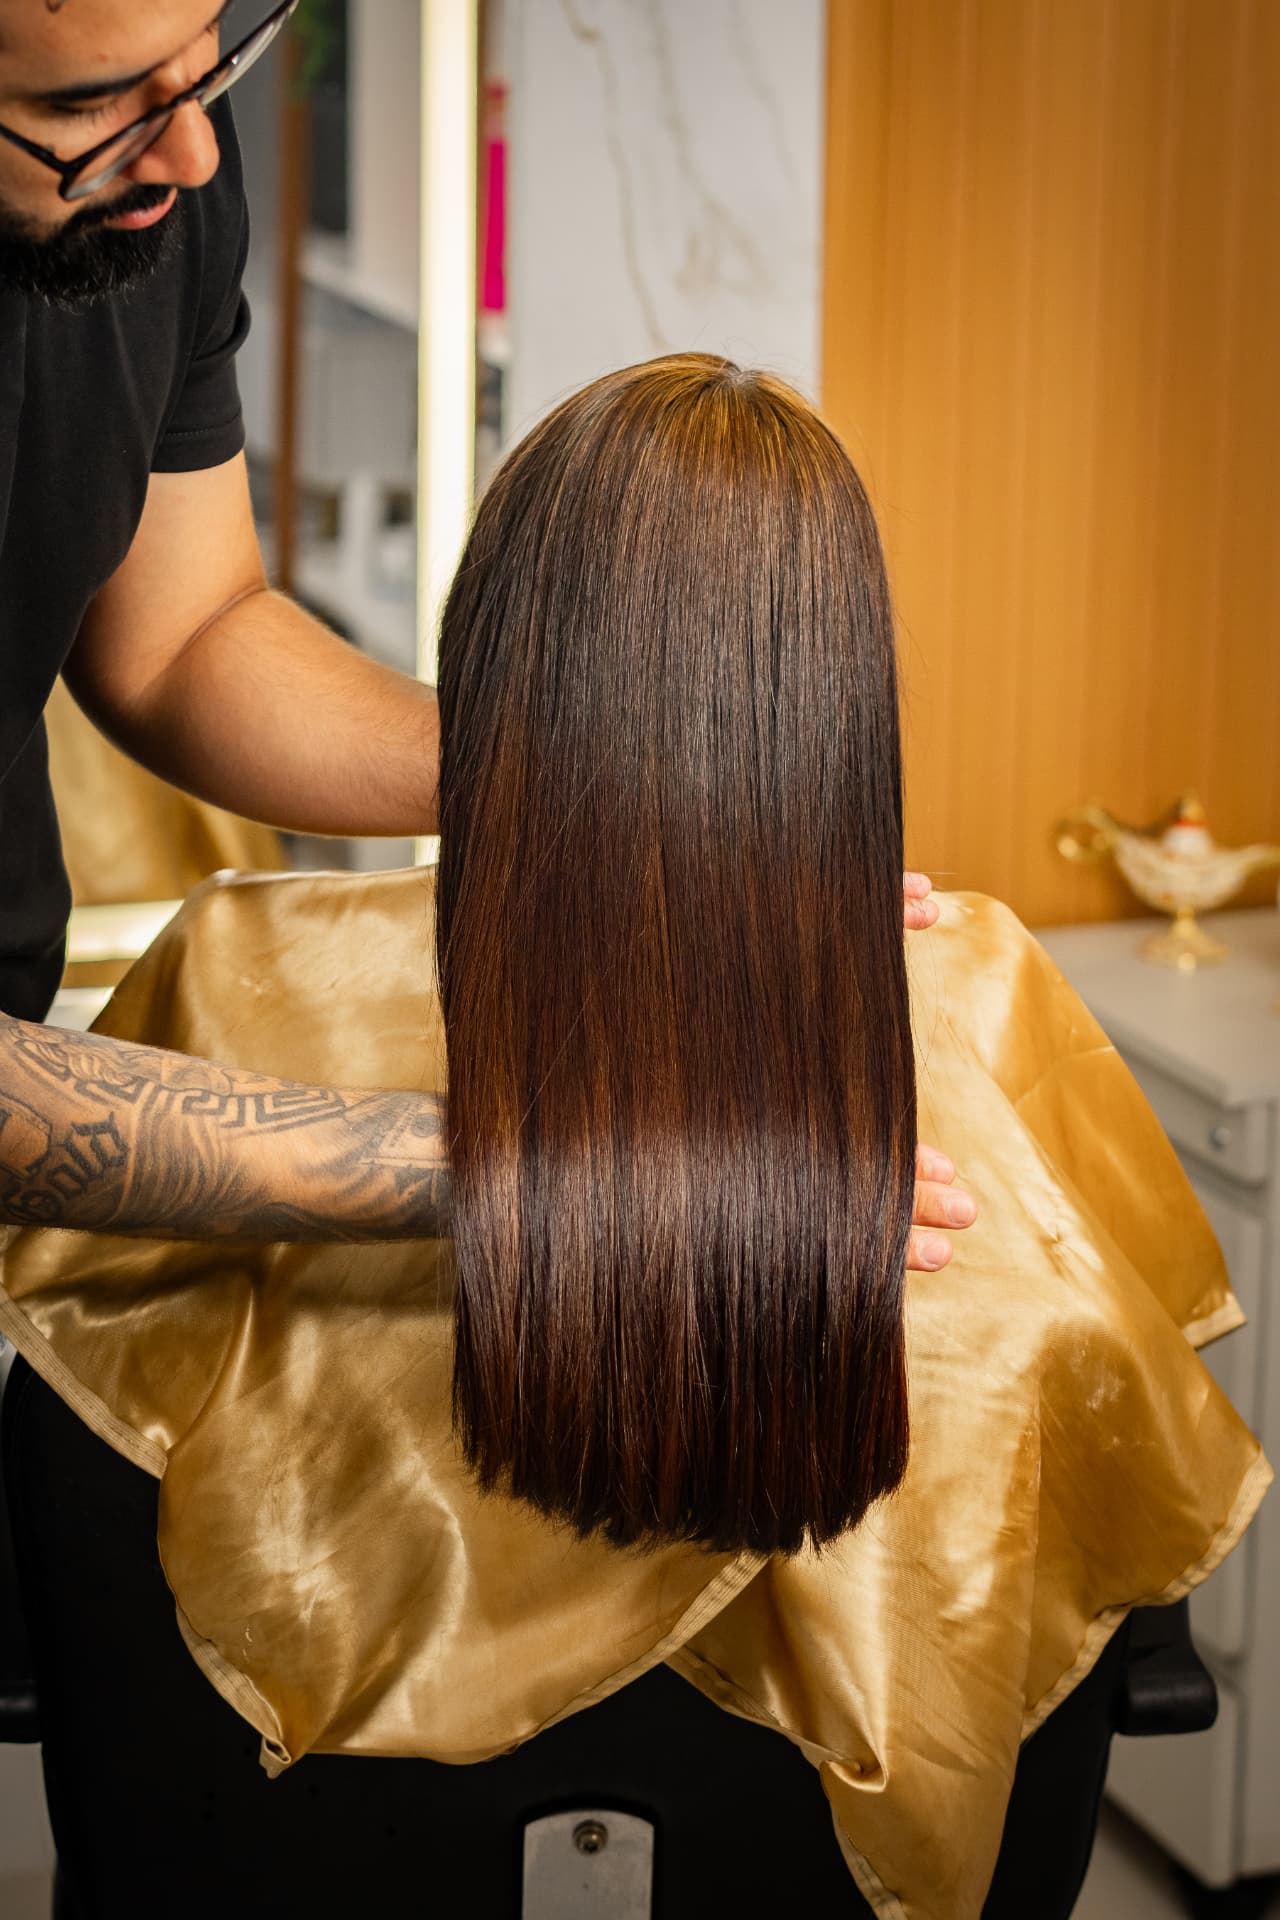
Key takeaways
- Sectioning is a control system, not a tidiness habit — thin, even strands are what make heat predictable.
- Processing time is read on the hair, not on the clock alone, and sits inside a 40–60 minute window.
- Thermal activation is the step where results are won or lost: temperature, pass count and strand thickness must be matched to the diagnosis.
- Nanoplastia reaches 100% straight on any hair type, with the finish — straight, anti-frizz natural or curl definition — chosen at consultation and controlled through processing and sealing.
- Finishing and aftercare determine how the result looks on day 30, which is what the client remembers.
How is Nanoplastia done step by step? Diagnose and strand-test, wash with a cuticle-opening pre-treatment, dry to the specified moisture level, section into thin quadrant partings, apply strand by strand, process for 40–60 minutes, seal with controlled flat-iron heat, cool completely, then brief aftercare. Nanoplastia works in both the cortex and the cuticle and reaches 100% straight on any hair type; lighter processing and fewer passes keep a natural anti-frizz finish or defined curls instead.
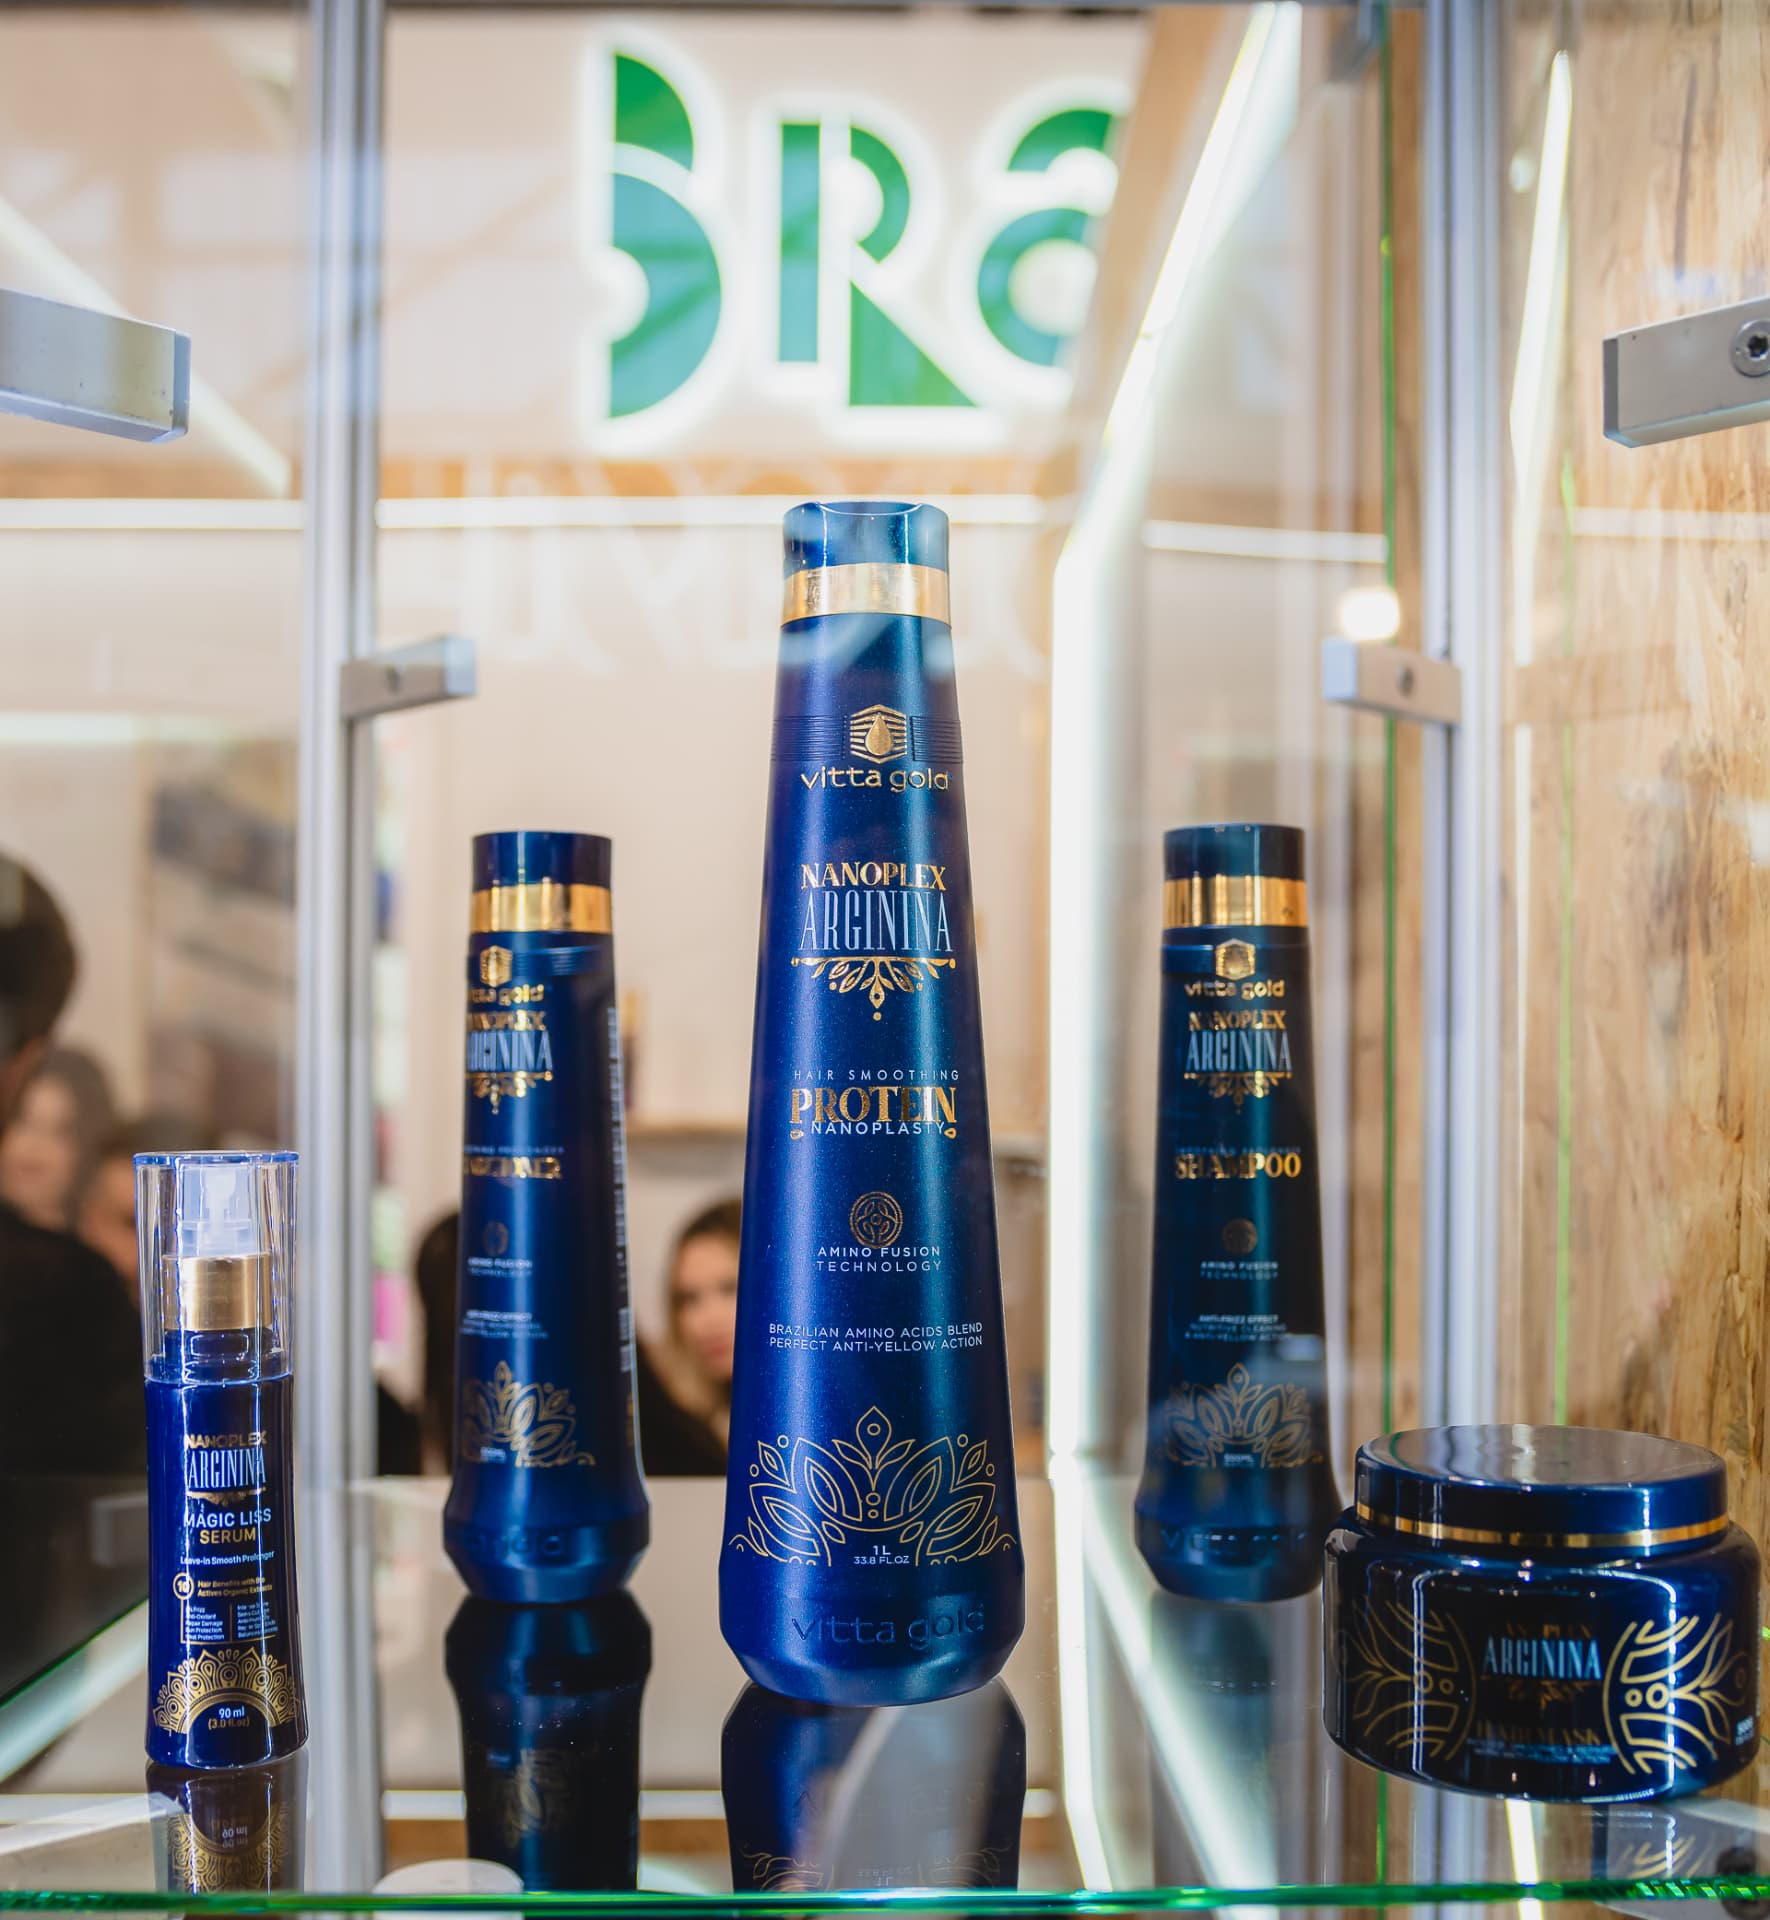
This is the professional execution sequence used in the Nanoplastia Professional System. It assumes a compliant professional line — in our protocol, Nanoplex Arginina™ — and a client who has already passed diagnosis. Every step below exists because skipping it changes the outcome in a specific, predictable way, which is exactly why the protocol is written down rather than improvised chair by chair.
Why does the order of steps matter so much?
Nanoplastia is not a single application that 'does its thing' once it touches the hair. It is a sequence of chemical and thermal events that each depend on the one before: the pre-wash opens the cuticle so the active can enter, the processing window gives the active time to reorganise bonds inside the cortex, and the thermal sealing step locks that new shape in place while the cuticle closes back down around it. Changing the order, or rushing any one step, breaks the chain the following steps depend on — which is why 'it worked anyway' on one client does not mean the shortcut is safe to repeat on the next.
1. Diagnosis and strand test
- Assess porosity, elasticity, density and chemical history before touching a product.
- Run a strand test on any hair with bleach, high-lift colour or repeated chemical services.
- Decide the target finish with the client: 100% straight, anti-frizz natural movement, or curl definition.
- Schedule the order correctly: Nanoplastia first, colour or bleaching only after a safety interval — never both in the same appointment.
- On blonde, coloured or bleached hair, choose a colour-protected, toning formula (Violet Acid, as in Nanoplex Arginina™ Amino Fusion) and plan any tonal correction afterwards with an ammonia-free toner.
- Record the decision. A written diagnosis is what protects you if the client's expectation drifts.
2. Preparation wash
Wash to remove residue, oils and product build-up so actives can penetrate. A cuticle-opening pre-treatment shampoo such as the Nanoplex Arginina™ one does this without stripping the fibre; a harsher clarifying shampoo is reserved for unusually heavy build-up, not used by default on every client. Number of washes is a diagnostic decision: resistant, high-density hair usually needs more, compromised hair needs fewer. Towel-dry and then blow-dry to the moisture level your protocol specifies — application on the wrong moisture level changes how the active absorbs and how the hair responds later to heat.
3. Sectioning
Work in four quadrants, then subdivide into horizontal partings no thicker than the product can penetrate evenly. Thick sections are the number-one hidden cause of uneven results: the outer face of the strand gets full product and full heat, the inner face gets neither, and the client leaves with a result that photographs well at the chair but separates into straight and wavy panels within a week.
4. Application
- 1Start at the densest, most resistant area — usually the nape or the crown depending on the head.
- 2Keep the correct distance from the scalp as specified by the product.
- 3Apply strand by strand, then comb through to distribute and align the active along the length.
- 4Keep total application time controlled so the first sections are not over-exposed while you finish the last.
How long should Nanoplastia process for?
Stay inside the 40 to 60 minute processing window and read the fibre rather than only the clock: it should feel aligned and pliable, never slippery or gummy. Elastic, stretchy behaviour during processing is a stop signal — rinse, apply a reconstruction step and reschedule instead of moving on to the iron. A detailed breakdown of what happens minute by minute, and why under-processing is the most common cause of a result that fades early, is covered in our dedicated guide.
6. Thermal activation — what temperature and how many passes?
Use the temperature range specified by the line you are working with, adjusted down for fine, coloured or bleached hair, and count your passes deliberately instead of ironing until it looks right. This is the step that decides between 100% straight, a natural anti-frizz finish, and an over-processed fibre — the iron is not a finishing touch, it is the step that physically fixes the new bond arrangement built during processing.
| Hair condition | Approach | Risk if ignored |
|---|---|---|
| Virgin, resistant, high density | Higher end of the recommended range, standard passes | Under-activation, result drops in weeks |
| Coloured, medium porosity | Mid range, monitor after each pass | Dullness, uneven finish |
| Bleached / highlighted | Lower end, fewer passes, test strand first | Rubbery fibre, breakage |
| Fine hair | Lower range, thinner sections | Over-processing, flat result |
| Coily / very dense | Higher end, thinner sections, full pass count | Partial reversion at the root |
Follow your product's temperature specification — never a number you remember from another line. Keep the iron moving at a consistent speed, keep tension even, and count your passes deliberately rather than working until it 'looks right', because the visual feedback in the chair lags behind the structural outcome the client will see at home.
7. Cooling and finishing
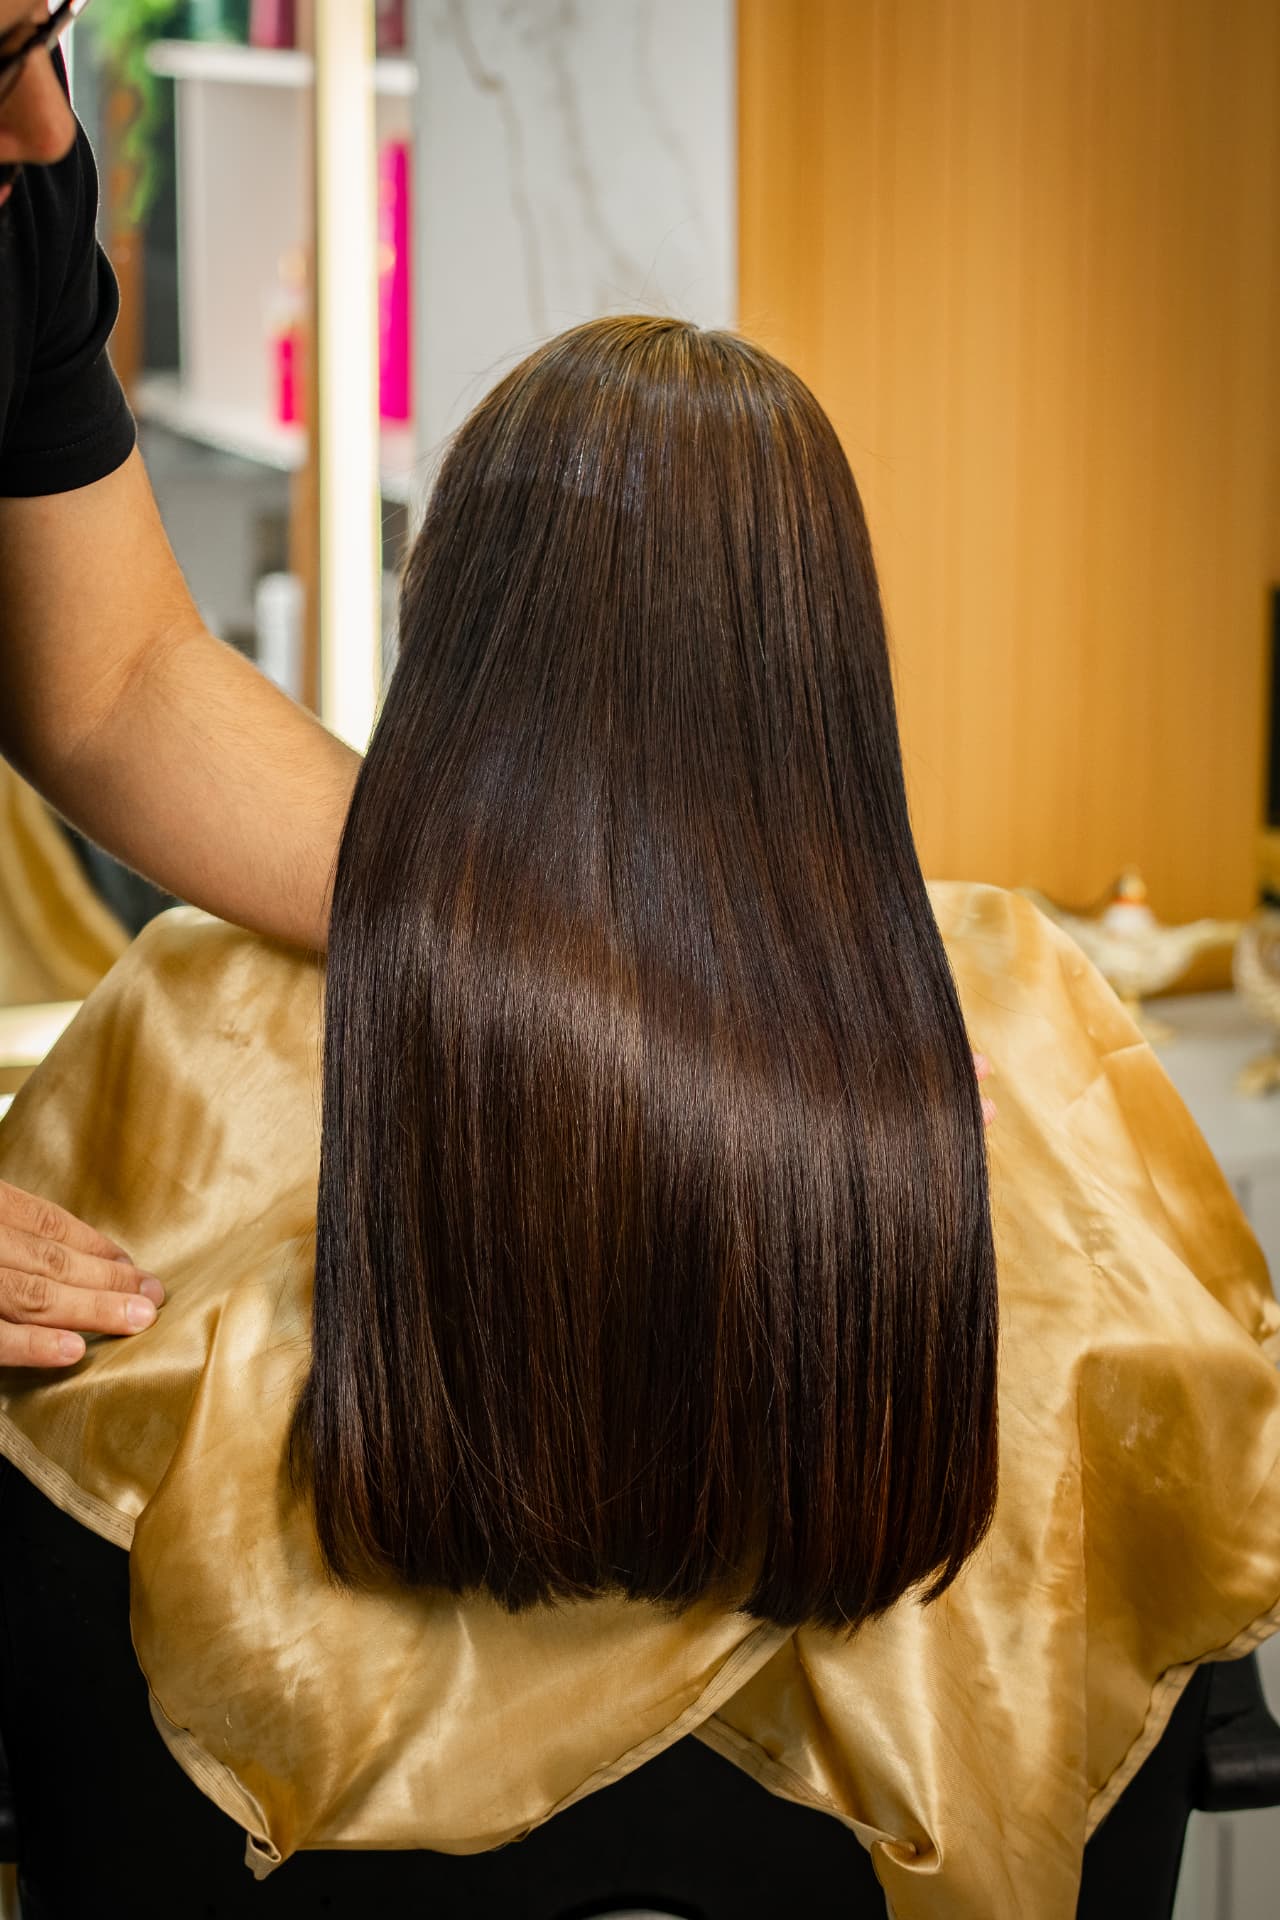
Let the fibre cool completely before the finishing steps — the alignment stabilises as it cools, and combing or styling hot hair undoes part of the work the iron just did. Finish according to the protocol of your line, then style dry to show the client the finish they asked for — whether that is a 100% straight, mirror-smooth result, a natural, frizz-free finish with movement, or defined curls.
8. Aftercare briefing
- Specify the wash window and the home-care products that maintain the result.
- Explain that sulphate-heavy shampoo and chlorine exposure shorten longevity.
- Set the rebooking date before the client leaves the chair.
- Send a follow-up message a week later — it is the cheapest retention tool you have.
What tools and products do you need on the tray?
Beyond the smoothing active itself, a repeatable protocol depends on consistent tools: a ceramic or titanium flat iron with an accurate, stable temperature display, fine-tooth and wide-tooth combs for sectioning and distribution, clips that do not crease a dried section, a professional dryer with a concentrator nozzle, and a timer the whole team uses the same way. Inconsistent tools are a quieter cause of inconsistent results than most stylists assume — a flat iron that reads 220°C but delivers less at the plate will under-seal the exact same application that performed perfectly on a calibrated tool the week before.
What can go wrong between steps 3 and 6?
Most preventable failures cluster in the middle of the protocol, where sectioning, moisture and processing time interact. A section that is slightly too thick is forgivable if the processing time is generous and the pass count is high; the same thick section combined with a rushed 35-minute process and a handful of iron passes compounds into a visibly patchy result. This is why the protocol treats each step as a checkpoint rather than a box to tick — if one step was imperfect, the next step is the place to compensate, not the place to rush further.
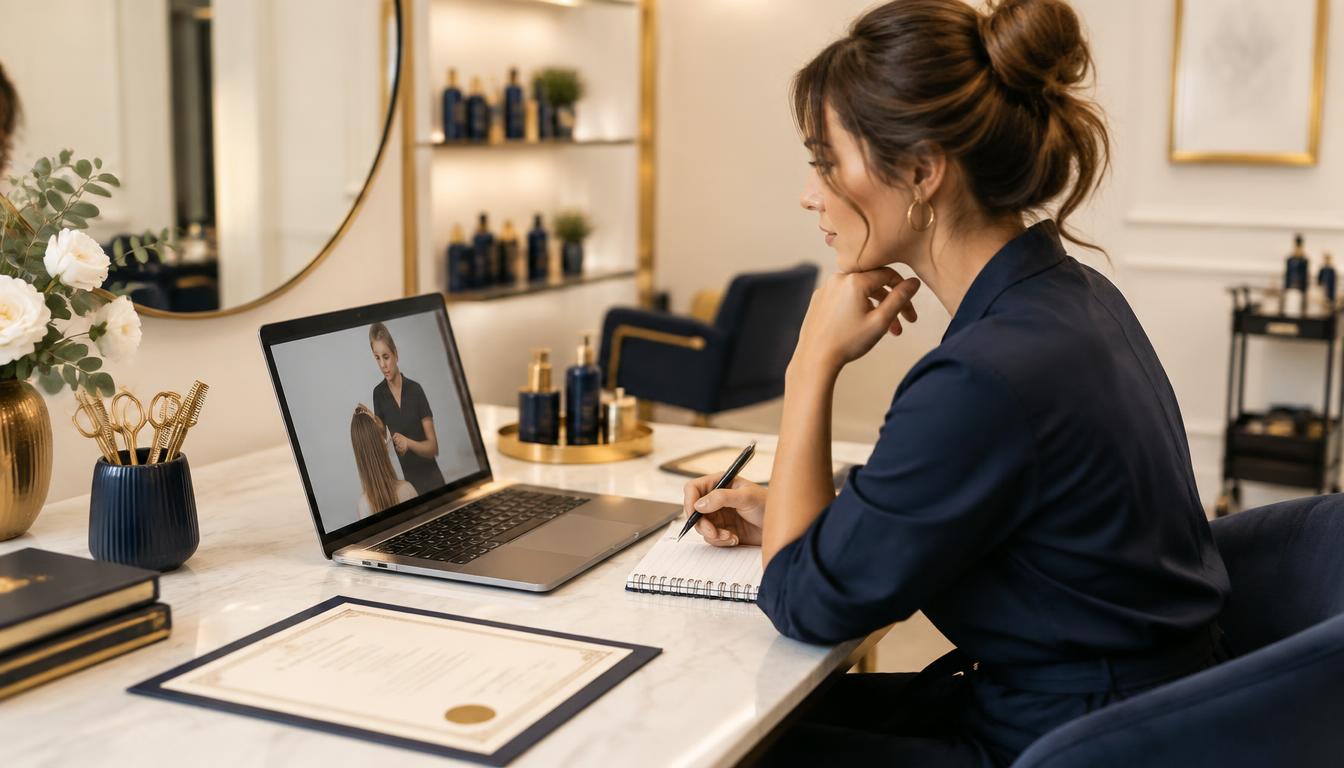
Each of these steps has its own lesson in the Nanoplastia Professional Certification, with real-client footage for sectioning, processing and thermal activation. If you want the short version first, the free 8-mistakes guide covers the failure modes at each stage.
Sources
- Hair Cosmetics: An Overview — International Journal of Trichology (NIH/PMC) — Hair structure, cosmetic chemistry and how treatments act on the fibre
- U.S. Occupational Safety and Health Administration — Occupational safety guidance for hair salons and smoothing services
- American Academy of Dermatology — Healthy hair care and heat-styling guidance
- StatPearls — National Library of Medicine — Anatomy and physiology of the hair fibre
Free for professionals
8 Mistakes That Can Ruin Your Nanoplastia Results
The technical and commercial errors behind most failed services — skipped diagnosis, thick sectioning, improvised heat, weak aftercare and pricing that destroys your hourly rate — with the checklist to prevent each one.
Download the free guideFrequently asked questions
What flat-iron temperature should I use for Nanoplastia?
Always the range specified by the professional line you are using, adjusted down for bleached, coloured or fine hair. Never carry a temperature over from a different product.
Can this protocol deliver a 100% straight result?
Yes, on any hair type, including coarse, afro and highly resistant hair. Thin sections, full 40–60 minute processing and complete thermal sealing on every strand take the fibre to a mirror-smooth 100% straight finish; shorter processing and fewer passes keep natural movement, anti-frizz only, or defined curls.
How long does the full Nanoplastia service take?
Two to four hours in most cases, depending on length and density, including diagnosis, application, 40–60 minutes of processing, thermal activation and finishing. Dense, highly textured hair aiming for 100% straight sits at the top of that range.
How many passes with the iron?
Count them deliberately and stay within the product's specification, typically 10 to 20 passes per strand depending on hair type. More passes is the most common way professionals over-process hair while believing they are improving the finish.
Does Nanoplastia work on the cuticle, the cortex, or both?
Both. The active penetrates the cortex to reorganise internal bonds while the cuticle is open, and thermal sealing then locks that new alignment in place as the cuticle closes — which is why both correct processing time and correct heat are necessary.
What is the single most important step in the protocol?
There is no single most important step — diagnosis sets the parameters for every step after it, but a correct diagnosis followed by thick sectioning or rushed processing still produces a poor result. Treat every step as load-bearing.
Can I use a clarifying shampoo before every Nanoplastia?
Not by default. Use the cuticle-opening pre-treatment shampoo recommended by your system, and reserve a stronger clarifying shampoo for hair with genuinely heavy product build-up, decided case by case.